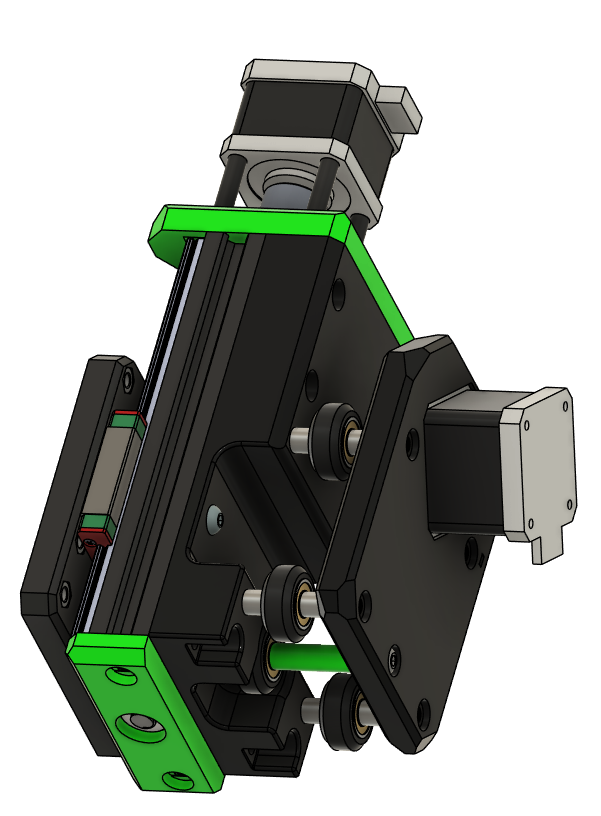
Z Carriage Assembly
This chapter focuses on the Z-axis carriage, bearings, and coupler alignment.
Assemble the X+Z Carriage
- Cut Ender3 2020 extrusions to 150mm x2.
- Tap M5 threads in both ends of the 150mm extrusions.
- Press in bearings if not already done.
- Loosely attach:
- Z motor coupler
- X motor pulley (20T)
- Attach both motors to their plates.
- Assemble the 2020 extrusions as square and parallel as possible.
- Mount the X motor carriage to the ZX carriage with wheels and spacers.
- Attach the Z bottom bearing plate and Z motor plate.
- Mount the MGN12 rails with carriages to the 2020 extrusions:
- Use a printed MGN12->2020 alignment tool to ensure straight rails.
- Rails can slide into cutouts if slightly too long (max 4mm overhang).
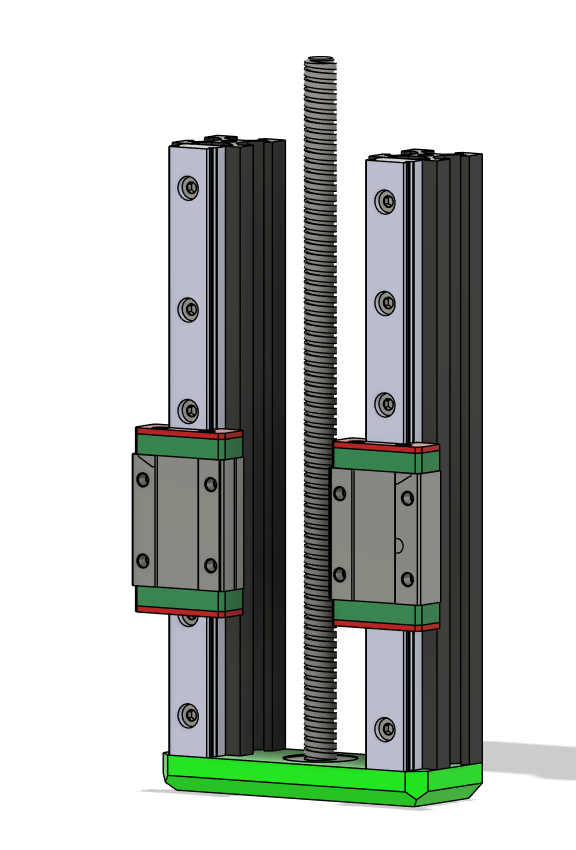
- Attach Z leadscrew nut to Z carriage.
- Mount Z carriage to MGN12H carriages:
- Slide up and down to check for binding. Adjust rails if necessary.
- Cut leadscrew to size (~180mm), double-check with your setup.
- Screw leadscrew from bottom bearing to Z motor coupler and secure.
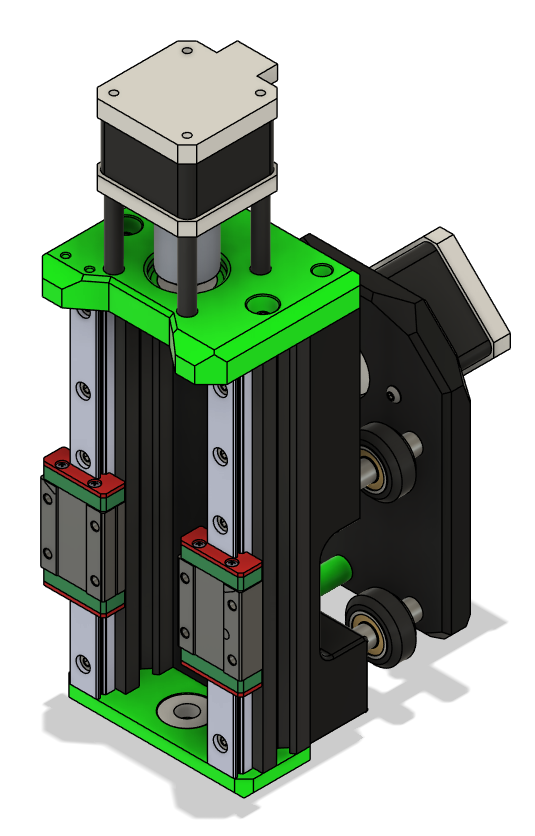
- Slide the X+Z assembly on the previously cut X extrusion.
Parts Required
| Qty | Item | Source | Notes |
|---|---|---|---|
| 1pc | Z Carriage Plate | Printed | Heatset inserts required |
| 2pc | M5 Locknuts | Buy | Press-fit into plate |
| 2pc | M5x16 BHSC | Buy | Z-axis carriage attachment |
| 1pc | Leadscrew Nut | Buy | M5 threaded for Z |
| 2pc | MGN12H Carriages | Buy | For smooth linear motion |
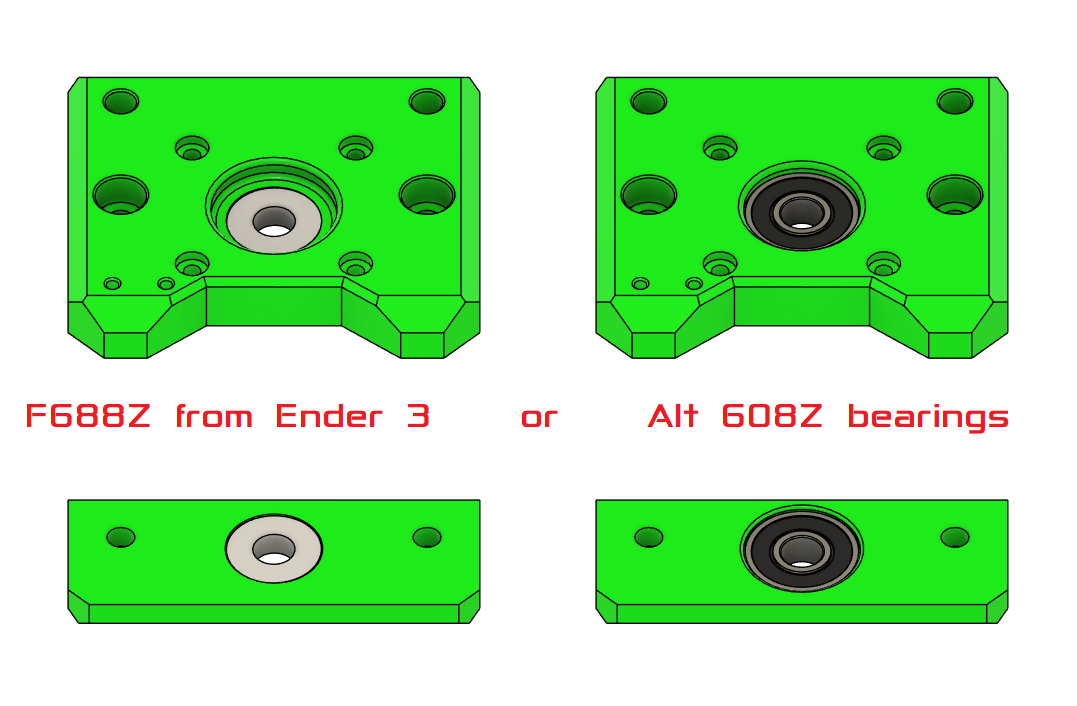
Bearing Choice
If you dont have 608Z use the F688Z from the Ender 3 Pro X axis tensioner.
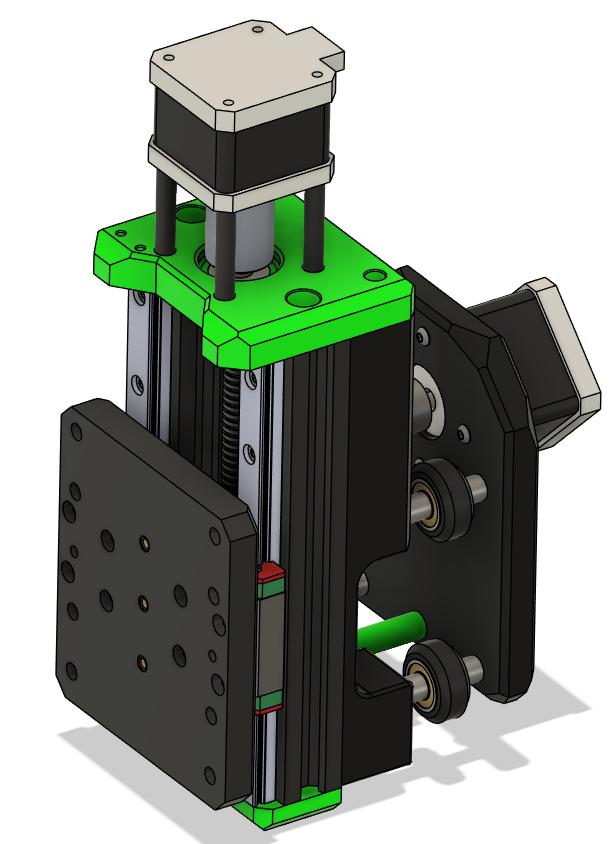
Backplate Assembly
- Insert heatset inserts into Z carriage plate.
- Press-fit M5 locknuts into their designated holes.
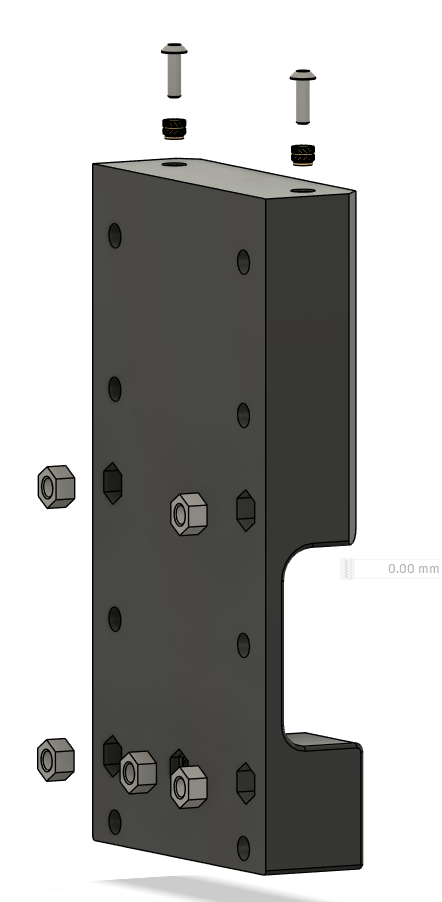
- Attach M5 Locknuts and Bolts to Z carriage plate.

- Assemble X gantry motor plate
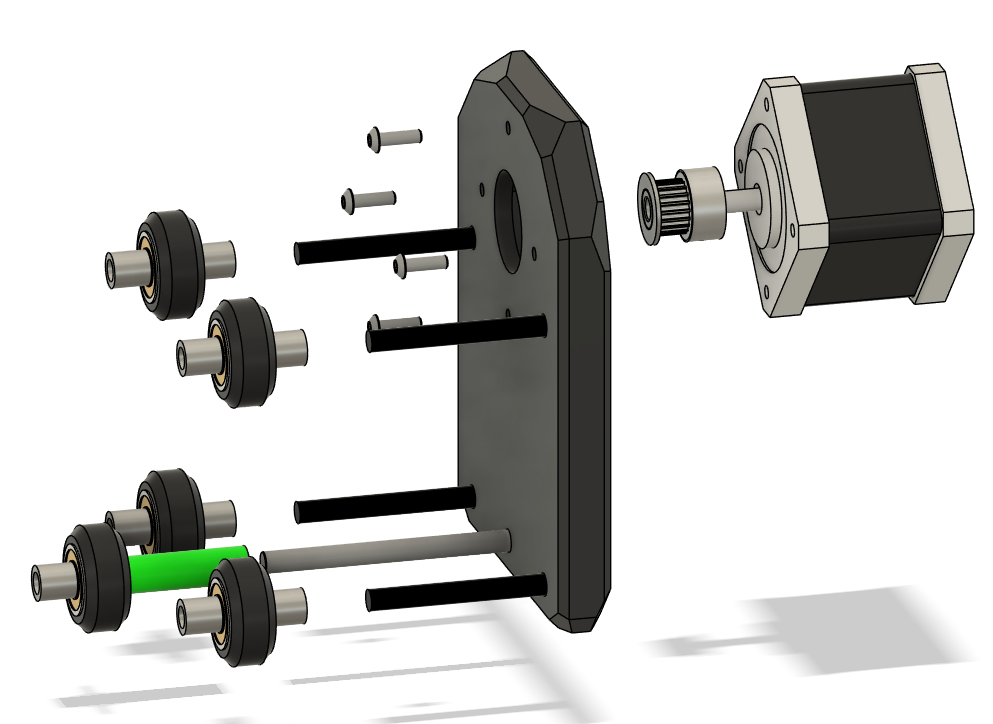
- Attach X gantry motor plate to xz gantry plate

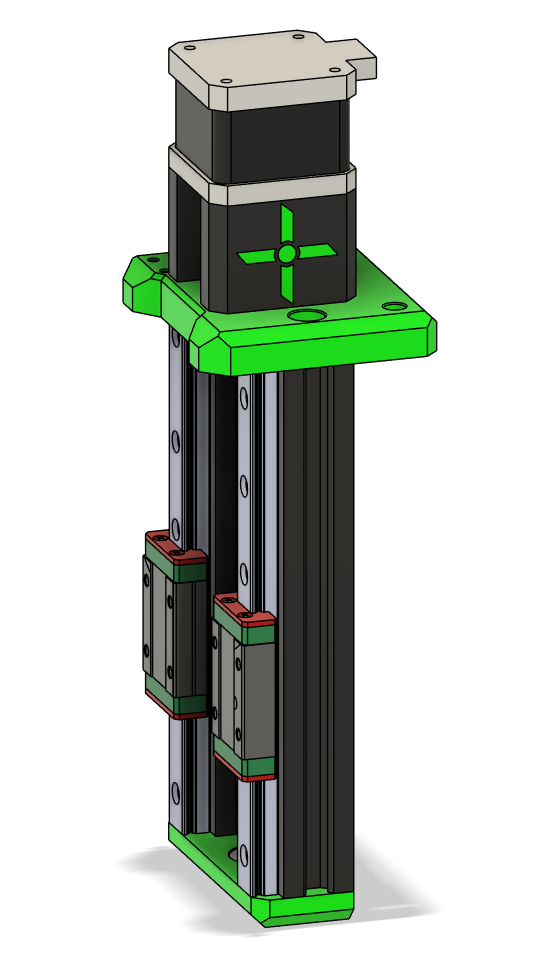
Frontplate
- Attach motor to top plate
- Loosely attach coupler to Z motor shaft.
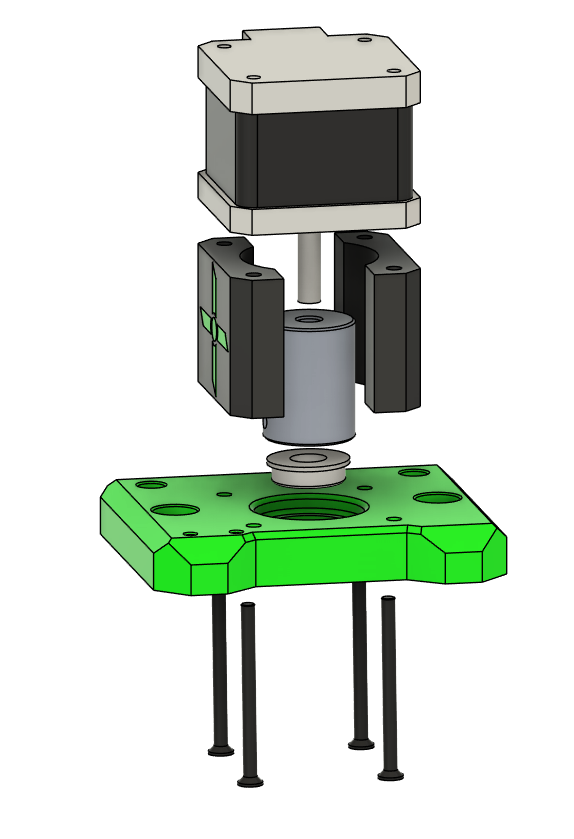
- Attach bottom plate to extrusion
- Attach 2020 Extrusion to rails
- Attach MGN12H carriages to the 2020 extrusions if not already done.
- Slide Z carriage onto MGN12H carriages.
- Attach leadscrew nut to Z carriage.
- Attach z top to extrusion by inserting leadscrew from bottom bearing to coupler:
- Ensure smooth rotation by hand.
- Adjust alignment if carriage binds on rails.
Assembly
Attach Backplate to Extrusion and top screws
Tips & Tricks
Tip
Test the Z-axis movement manually before wiring the motors.
Smooth motion now saves time troubleshooting later.
Warning
Avoid forcing the leadscrew; misalignment can strip threads in the coupler.
Tip
Ender3 aluminum spacers are 8.35mm. If using 8mm spacers from another source, use the printed lower middle spacer to maintain alignment.
Ready to Proceed?
After completing these steps, your ready for Gantry Assembly.