Carriage Assembly
This chapter covers assembling the carriage, mounting motors, bearings, and spacers.
Parts Required
| Qty | Item | Source | Notes |
|---|---|---|---|
| 4pc | M3x8 BHSC | Ender3 | |
| 2pc | M3x10 | Buy | |
| 10pc | M5x16 BHSC | Buy | |
| 2pc | M5x8 BHSC | Ender3 | |
| 4pc | M3x40 | Ender3 | |
| 4pc | M5x45 SHSC | Ender3 | Remove shims |
| 1pc | M5x65 BHSC | Buy | |
| 12pc | M3x8 SHSC | Buy | |
| 2pc | M3x16 BHSC | Ender3 | |
| 9pc | Aluminum Spacers | Ender3 | |
| 1pc | 28.35mm Printed Spacer | Printed | |
| 5pc | V-Wheels | Ender3 | |
| 4pc | 32.60mm Printed Spacer | Printed | |
| 8pc | M3x10 BHSC | Ender3 |
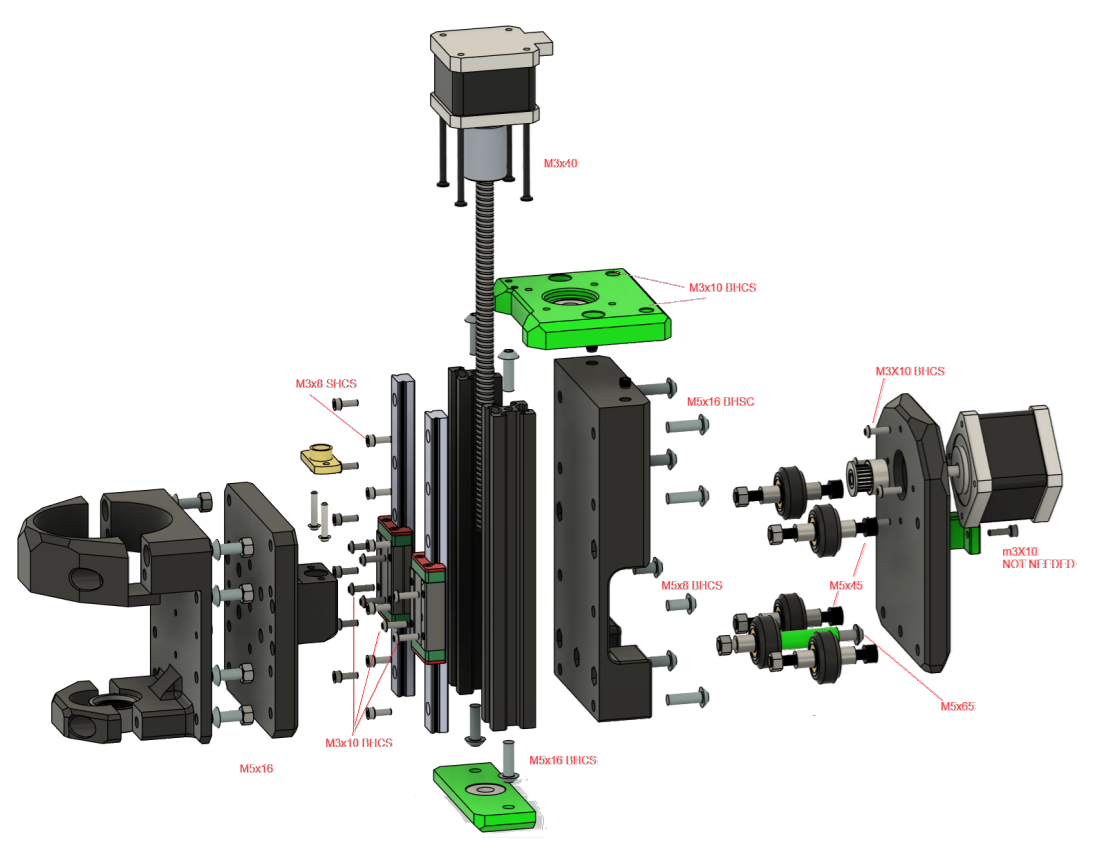
Assembly Exploded
For reference only, this will be explained step by step.
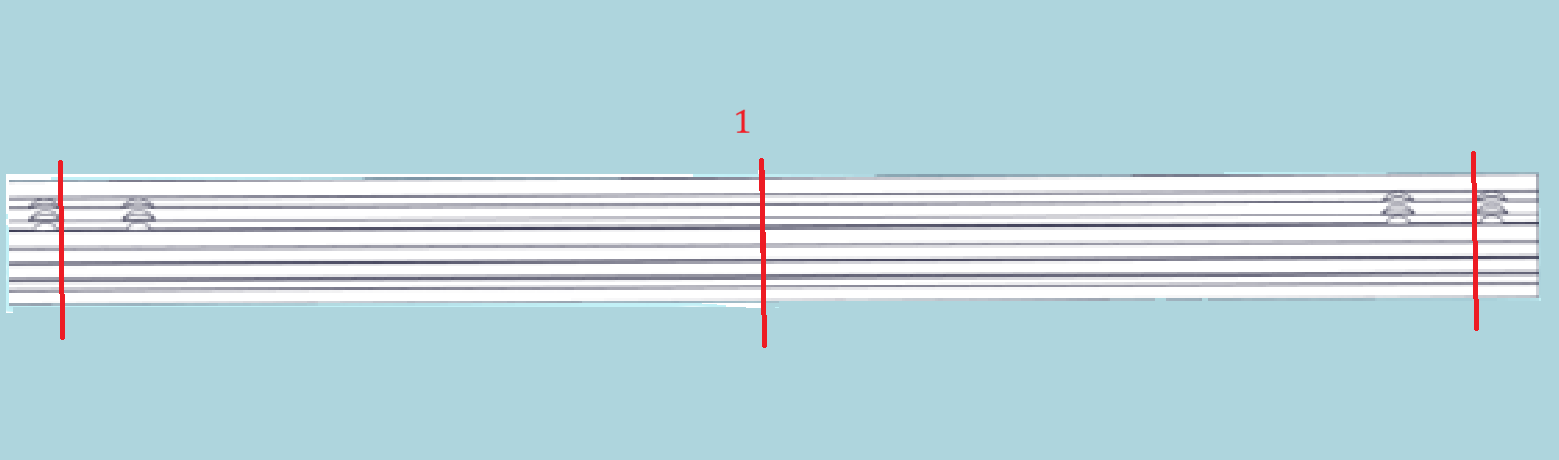
Cut the Top rail into 2 150mm pieces for Z axis
Tip
When cutting the z rail start with the center cut 1 and then cut the outside through holes off so there is more extrusion to thread on to and it is easier to make sure they are the same length.
Tap the 4 ends of the 150mm Extrusion

Install heatsets and pressfits for the carriage.
Parts Required
| Qty | Item | Source | Notes |
|---|---|---|---|
| 7pc | M3 Heatsets | Buy | M3x5x4 "Voron spec" |
| 12pc | Lock Nuts | Buy |
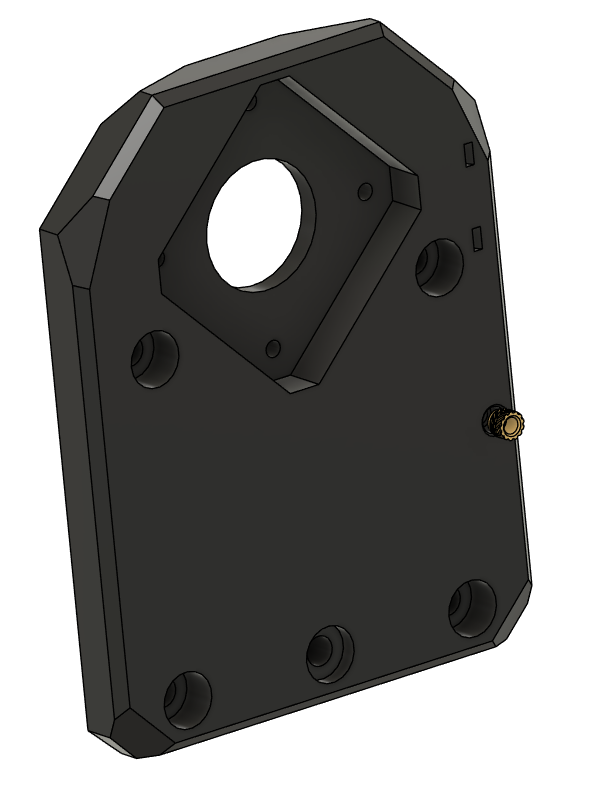
Heatsets
Warning
Make sure heatsets are flush and perpendicular.
XZ Carriage Plate

Dremel Plate
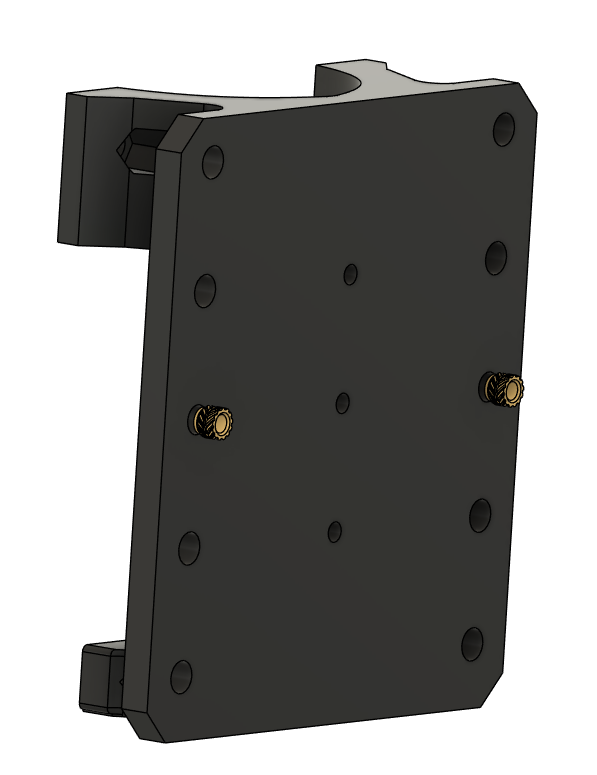
Z Carriage
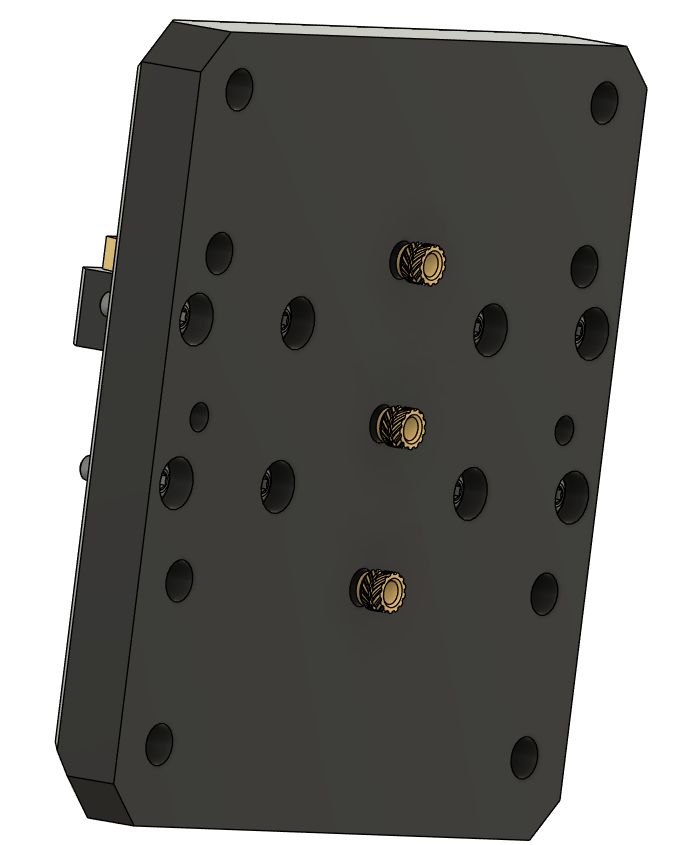
X-Motor plate
Pressfit Locknuts
Tip
You may want to add a dab of superglue to the lock nuts to keep them in place.
Z Carriage
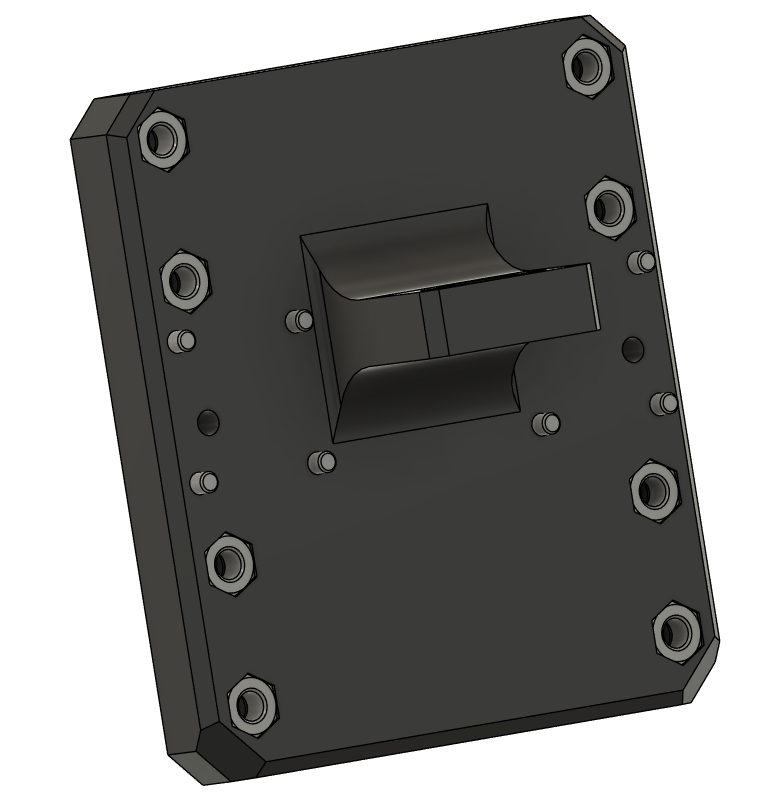
XZ Carriage Plate
Ready to Proceed?
After completing these steps, your start assembling the Carriage Assembly.