Wiring and Electronics
This chapter covers connecting limit switches, wiring the motors, and PSU setup.
1. Parts Required
| Qty | Item | Source | Notes |
|---|---|---|---|
| 4pc | Limit Switches | Buy | Endstops for X/Y/Z |
| Wires | As needed | Buy | JST connectors optional |
| 1pc | Electronics Enclosure | Buy/Print | Fits Raspberry Pi / SKR board / SSR |
| PSU | Power Supply | Buy | Ensure safe handling |
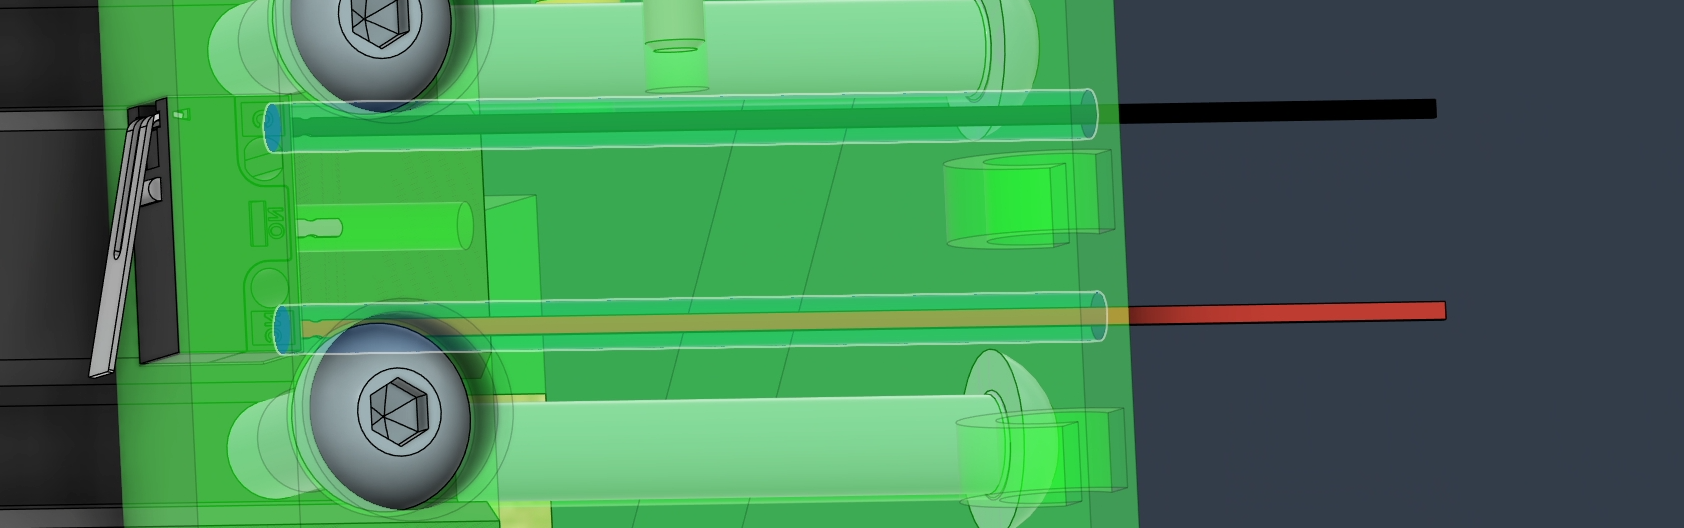
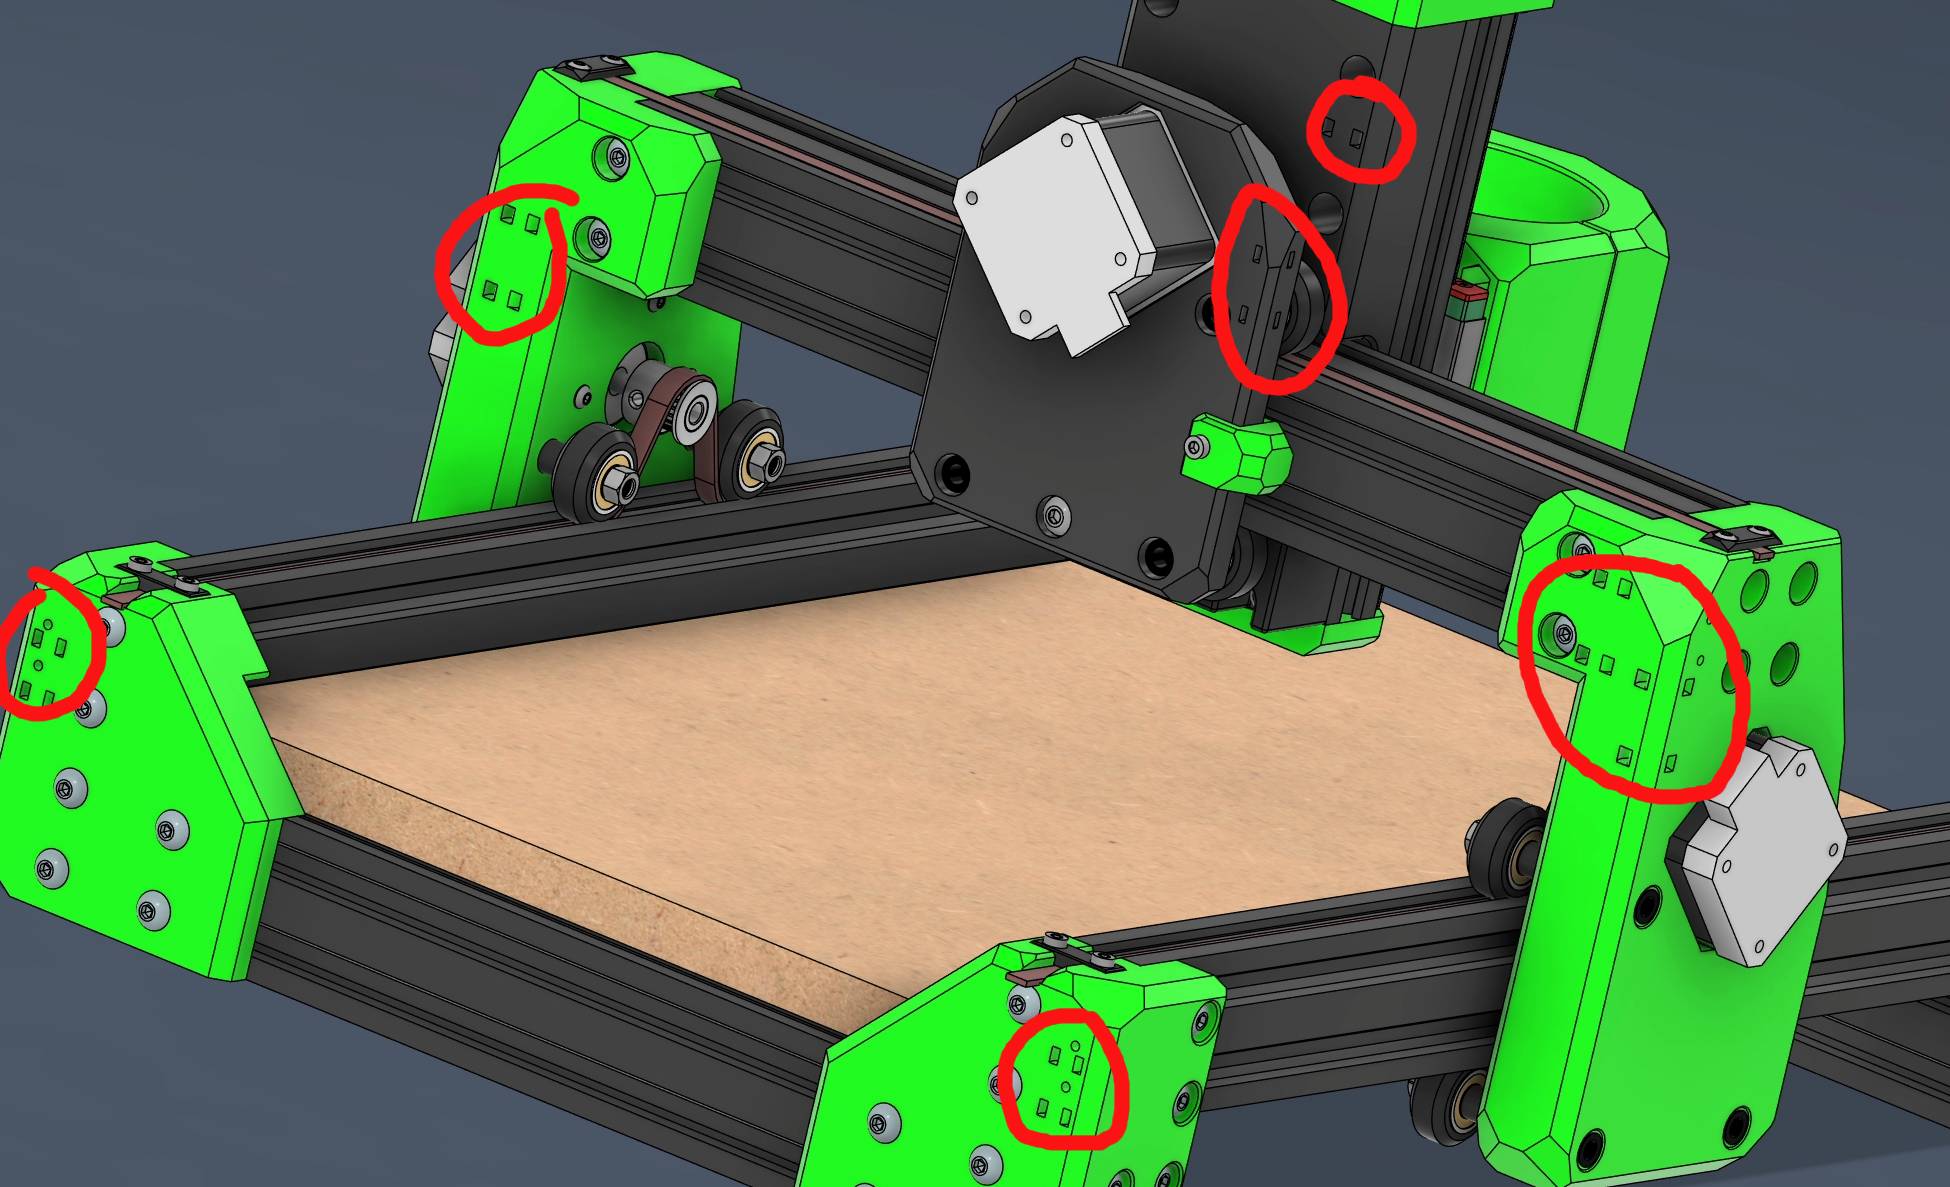
2. Limit Switch Installation
- Solder wires to all 4 limit switches.
- Insert switches into the press-fit slots in the frame.
- Test that switches sit securely:
- If too tight → lightly sand faces.
- If too loose → add shims or a small amount of hot glue.
- Leave switches unpressed until the frame and carriage are fully installed.
3. Wire Management
- Use zip-tie mounts for clean wire routing.
- Keep wires away from moving parts.
- Route motor, limit switch, and spindle wires neatly to the electronics enclosure.
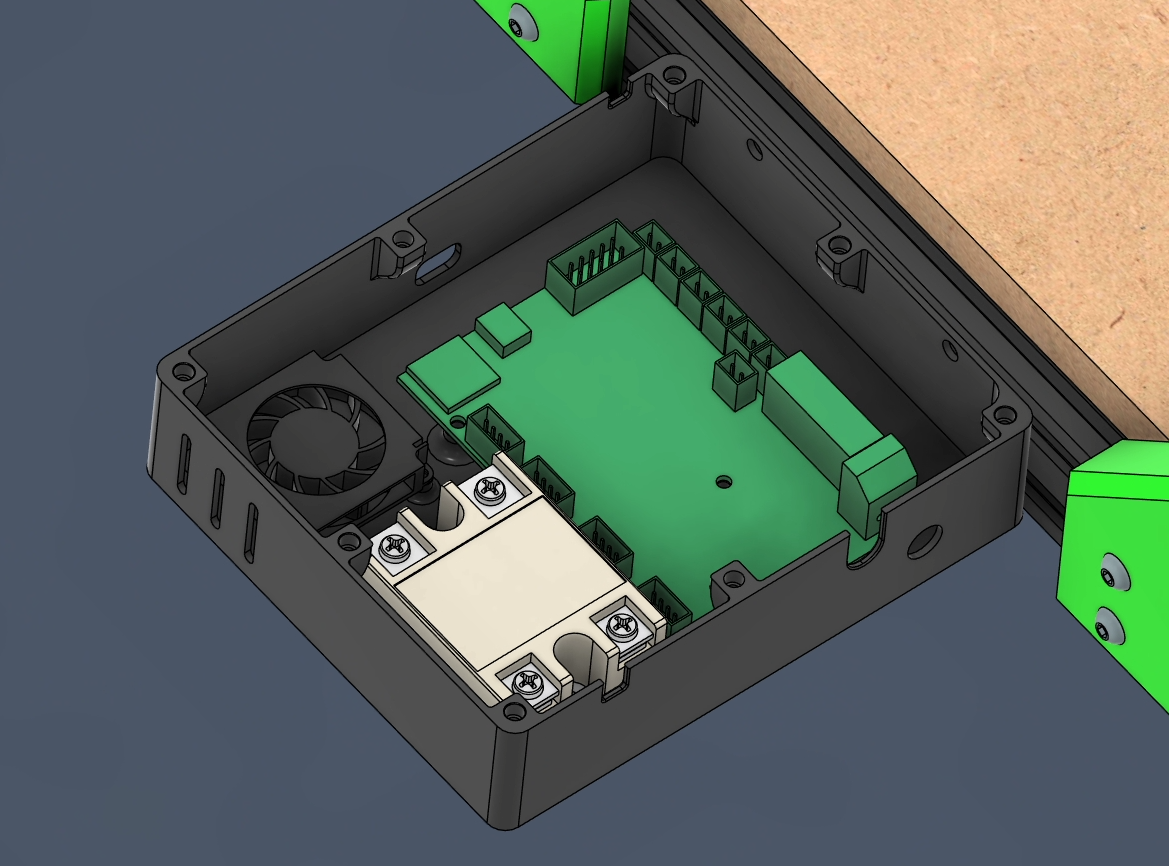
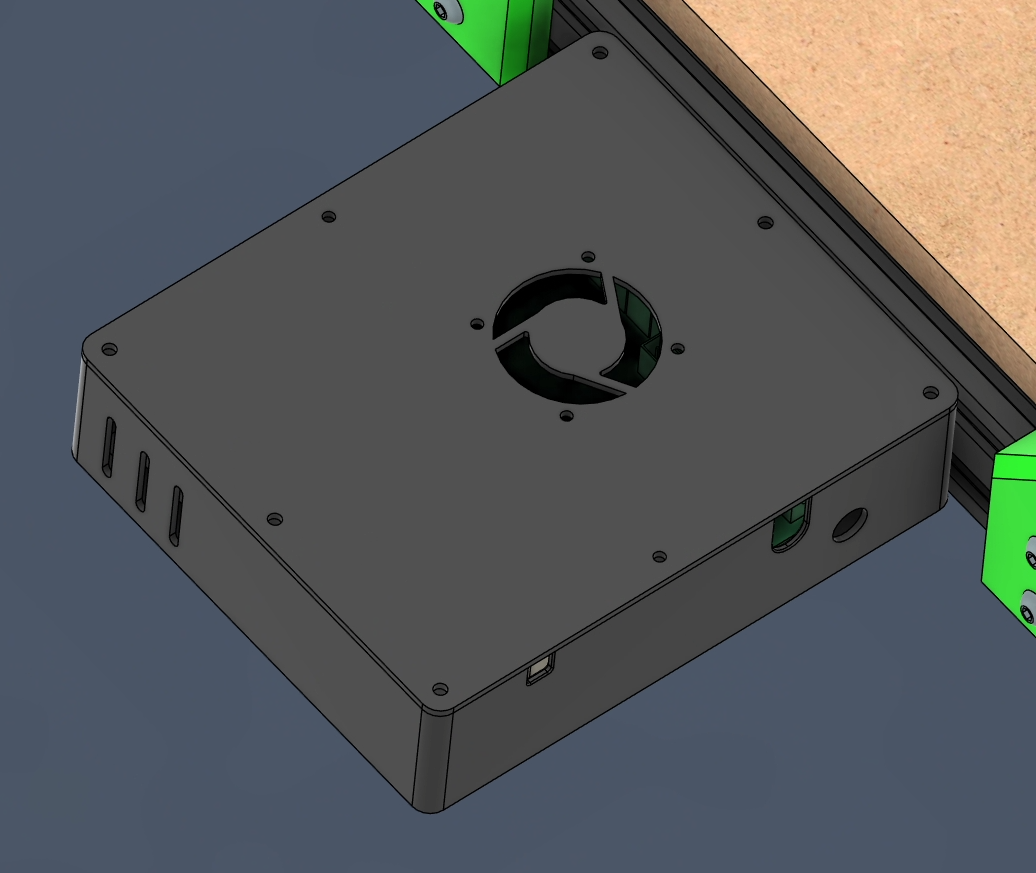
4. Electronics Enclosure
- Choose enclosure based on your board (Raspberry Pi, SKR Pico, 4.2.2, 4.2.7).
- Modify enclosure if necessary to fit additional components like SSR.
- PSU installation:
- Only connect once wiring is fully complete.
- Practice safety and follow electrical guidelines.
Warnings
Warning
Do not power the machine before completing wiring and verifying all connections.
Tip
Use an old laptop running Klipper as an alternative to a Raspberry Pi if needed.
Ready to Proceed?
You have now completed the wiring and ready to move on to the Firmware Setup.